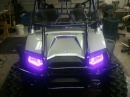
| | Couple of pics of the finished product |  |
|
+14roadiestar MPower RMEF Lifer CaptMorgansgirl rtb1973 Big-R Mud-and-Guts wvyankee2 MarkW nocerisdave Smith700 ChrisC tim AIRBORNE 18 posters |
|
| Author | Message |
|---|
AIRBORNE
SSXSRider Member

Number of posts : 6266
Registration date : 2008-05-01
Age : 50
Location : Morgantown, West Virginia
| | Subject: Couple of pics of the finished product Sun Mar 07, 2010 6:17 pm | |
|
Last edited by AIRBORNE on Tue Mar 09, 2010 12:44 pm; edited 1 time in total | |
|
| | |
tim
SSXSRider Member

Number of posts : 691
Registration date : 2008-09-09
Age : 49
Location : Richmond, KY
| | Subject: Re: Couple of pics of the finished product Sun Mar 07, 2010 6:37 pm | |
| | |
|
| | |
ChrisC
SSXSRider Member

Number of posts : 5483
Registration date : 2008-06-30
Age : 57
Location : Marietta GA
| | Subject: Re: Couple of pics of the finished product Sun Mar 07, 2010 7:03 pm | |
| Good Job LT.......  | |
|
| | |
Smith700
SSXSRider Member

Number of posts : 2713
Registration date : 2009-08-21
Location : Knoxville,Tn
| | Subject: Re: Couple of pics of the finished product Sun Mar 07, 2010 7:32 pm | |
| | |
|
| | |
nocerisdave
SSXSRider Member

Number of posts : 5674
Registration date : 2008-01-22
Age : 58
Location : Laceys Spring AL
| | Subject: Re: Couple of pics of the finished product Sun Mar 07, 2010 7:41 pm | |
| | |
|
| | |
AIRBORNE
SSXSRider Member
Number of posts : 6266
Registration date : 2008-05-01
Age : 50
Location : Morgantown, West Virginia
| | Subject: Re: Couple of pics of the finished product Sun Mar 07, 2010 7:54 pm | |
| | |
|
| | |
MarkW
SSXSRider Member

Number of posts : 231
Registration date : 2008-12-31
Age : 53
Location : Richmond Ky
| | Subject: Re: Couple of pics of the finished product Sun Mar 07, 2010 9:34 pm | |
| | |
|
| | |
wvyankee2
SSXSRider Member

Number of posts : 10319
Registration date : 2008-01-22
Age : 63
Location : Mohave County, Arizona
| | Subject: Re: Couple of pics of the finished product Sun Mar 07, 2010 9:35 pm | |
| | |
|
| | |
Mud-and-Guts
SSXSRider Member

Number of posts : 1839
Registration date : 2008-09-22
Age : 45
Location : celina,tn
| | Subject: Re: Couple of pics of the finished product Sun Mar 07, 2010 10:57 pm | |
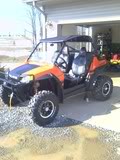
| Man that thing looks sweet,  When are you getting the XTR's? Are you going to put them on those wheels??? | |
|
| | |
Big-R
SSXSRider Staff
Number of posts : 16074
Registration date : 2008-02-26
Age : 50
Location : Louisville,Ky
| | Subject: Re: Couple of pics of the finished product Sun Mar 07, 2010 11:09 pm | |
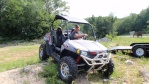
| Nice job Buddy. It looks really good. The rear mud-flaps look great also. | |
|
| | |
rtb1973

Number of posts : 17
Registration date : 2010-02-22
Location : Maysville, Ky
| | Subject: Re: Couple of pics of the finished product Mon Mar 08, 2010 12:24 am | |
| | |
|
| | |
CaptMorgansgirl
SSXSRider Member

Number of posts : 1573
Registration date : 2008-07-30
Age : 50
Location : Scott Depot, West Virginia
| | Subject: Re: Couple of pics of the finished product Mon Mar 08, 2010 12:32 am | |
| Looks good! | |
|
| | |
RMEF Lifer
SSXSRider Member

Number of posts : 148
Registration date : 2009-12-22
Age : 59
Location : Fort Mill, SC
| | Subject: Re: Couple of pics of the finished product Mon Mar 08, 2010 8:44 am | |
| Looking good  I probably missed it somewhere, but what are you using for front mud flaps? | |
|
| | |
MPower
SSXSRider Member
Number of posts : 52
Registration date : 2009-01-04
Age : 45
Location : Mt. Sterling. KY
| | Subject: Re: Couple of pics of the finished product Mon Mar 08, 2010 9:35 am | |
| looks great LT  | |
|
| | |
roadiestar

Number of posts : 842
Registration date : 2008-01-25
Age : 103
Location : Obama land USSR
| | Subject: Re: Couple of pics of the finished product Mon Mar 08, 2010 10:07 am | |
| Looks to good to use. That wouldn't last me 5 min's looking like that. | |
|
| | |
cajuncoot
SSXSRider Member

Number of posts : 3773
Registration date : 2008-03-25
Age : 64
Location : new carlisle ohio
| | Subject: Re: Couple of pics of the finished product Mon Mar 08, 2010 11:31 am | |
| looks great Capt. and that young un is growing fast, enjoy all the time u can with her next thing you know you will be walking her down the aisle proud as a peach !! | |
|
| | |
AIRBORNE
SSXSRider Member
Number of posts : 6266
Registration date : 2008-05-01
Age : 50
Location : Morgantown, West Virginia
| | Subject: Re: Couple of pics of the finished product Mon Mar 08, 2010 11:37 am | |
| - cajuncoot wrote:
- looks great Capt. and that young un is growing fast, enjoy all the time u can with her next thing you know you will be walking her down the aisle proud as a peach !!
Yeah......in about 40 yrs!!!  | |
|
| | |
cajuncoot
SSXSRider Member
Number of posts : 3773
Registration date : 2008-03-25
Age : 64
Location : new carlisle ohio
| | Subject: Re: Couple of pics of the finished product Mon Mar 08, 2010 11:42 am | |
| | |
|
| | |
Sporto
SSXSRider Member
Number of posts : 688
Registration date : 2009-07-10
Location : Somerville, AL..........ROLL TIDE!!!
| | Subject: Re: Couple of pics of the finished product Mon Mar 08, 2010 3:30 pm | |
| Dude, been gone for about week so I am a little behind on what is new. That looks Badass! Silver really sets it off....... | |
|
| | |
Dino
SSXSRider Member
Number of posts : 65
Registration date : 2009-08-21
Age : 65
Location : Hendersonville TN
| | Subject: Re: Couple of pics of the finished product Mon Mar 08, 2010 5:17 pm | |
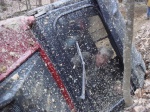
| Lt let me know how the mud flaps work for you. I was riding with the East Tenn ATV club this weekend and JodyT put flaps on his RZR and they worked great. While my son was driving I was paying close attention where the mud was coming from and most of it was coming from the rear and over the area where the flares taper in. Anyway I have ordered the same material that JodyT has and I am trying to find a way to stick it out the back. The RZRS is different than his RZR. How did you mount yours?
Thanks | |
|
| | |
AIRBORNE
SSXSRider Member
Number of posts : 6266
Registration date : 2008-05-01
Age : 50
Location : Morgantown, West Virginia
| | Subject: Re: Couple of pics of the finished product Mon Mar 08, 2010 6:30 pm | |
| | |
|
| | |
AIRBORNE
SSXSRider Member
Number of posts : 6266
Registration date : 2008-05-01
Age : 50
Location : Morgantown, West Virginia
| | Subject: Re: Couple of pics of the finished product Mon Mar 08, 2010 6:37 pm | |
| - Dino wrote:
- Lt let me know how the mud flaps work for you. I was riding with the East Tenn ATV club this weekend and JodyT put flaps on his RZR and they worked great. While my son was driving I was paying close attention where the mud was coming from and most of it was coming from the rear and over the area where the flares taper in. Anyway I have ordered the same material that JodyT has and I am trying to find a way to stick it out the back. The RZRS is different than his RZR. How did you mount yours?
Thanks What kind of material did JodyT use? I used some ABS high impact plastic. It was $23 a sheet. One sheet makes both sides. I am not sure how it will hold up. Guess I will find out at Windrock. | |
|
| | |
hillbillyrzrs
SSXSRider Member
Number of posts : 366
Registration date : 2008-11-11
Age : 60
Location : Man, WV
| | Subject: Re: Couple of pics of the finished product Mon Mar 08, 2010 7:41 pm | |
| So LT since you are in the fabrication bussiness for rzrs mud flaps how much for a set delivered to WV | |
|
| | |
Dino
SSXSRider Member
Number of posts : 65
Registration date : 2009-08-21
Age : 65
Location : Hendersonville TN
| | Subject: Re: Couple of pics of the finished product Mon Mar 08, 2010 7:43 pm | |
| It was a heavy rubber material and it looked good. I am going to pick it up tomorrow my issue is the rear because the material is not rigid which means I will have to find a way to mount it so it will go past the back of the tire. I see why you used the hard material. Thanks I will let you know what I come up with. Look forward to seeing you at windrock. | |
|
| | |
AIRBORNE
SSXSRider Member
Number of posts : 6266
Registration date : 2008-05-01
Age : 50
Location : Morgantown, West Virginia
| | Subject: Re: Couple of pics of the finished product Tue Mar 09, 2010 6:52 am | |
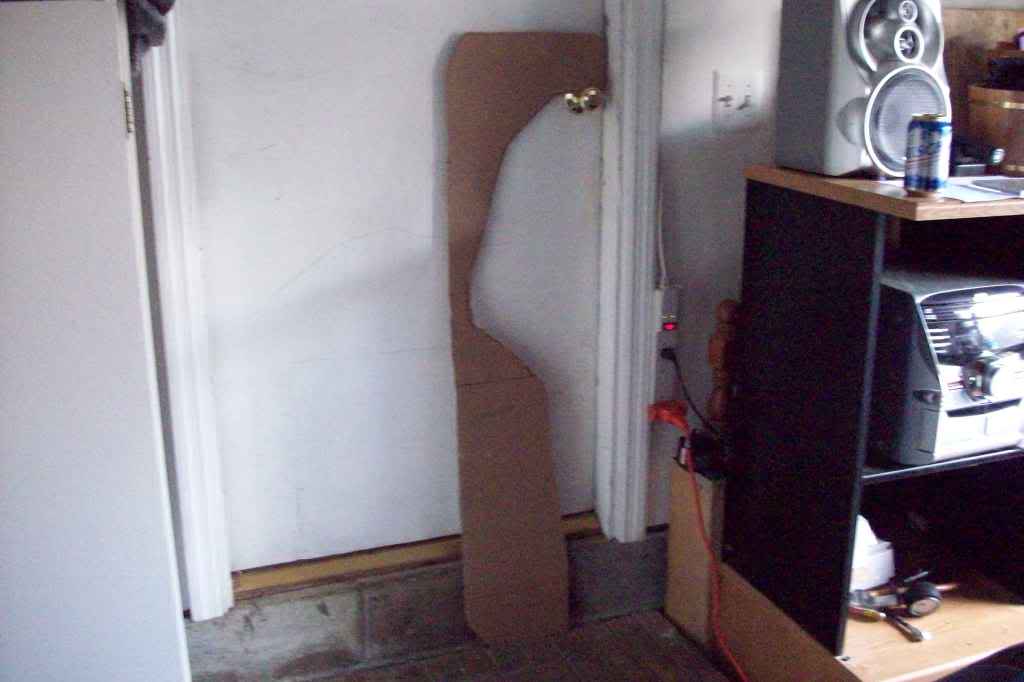
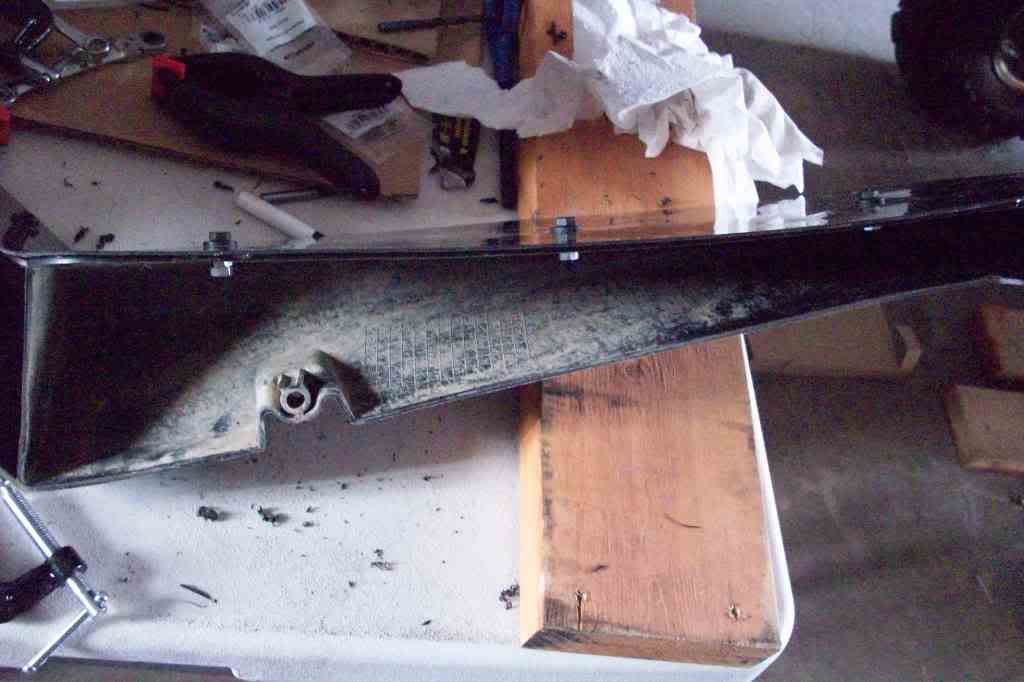
| Some pics of the battery upgrade. Required minimal trimming of the stock battery box. Thanks for the tip on bending the battery retainer bar Clayboy! One thing I noticed was this battery fired both HIDs lights several times with the machine NOT running without getting the "ONE-EYE" effect.  | |
|
| | |
Sponsored content
| | Subject: Re: Couple of pics of the finished product | |
| |
|
| | |
| | Couple of pics of the finished product | |
|